Understanding the Working Principles of Inverted Metallographic Microscopes
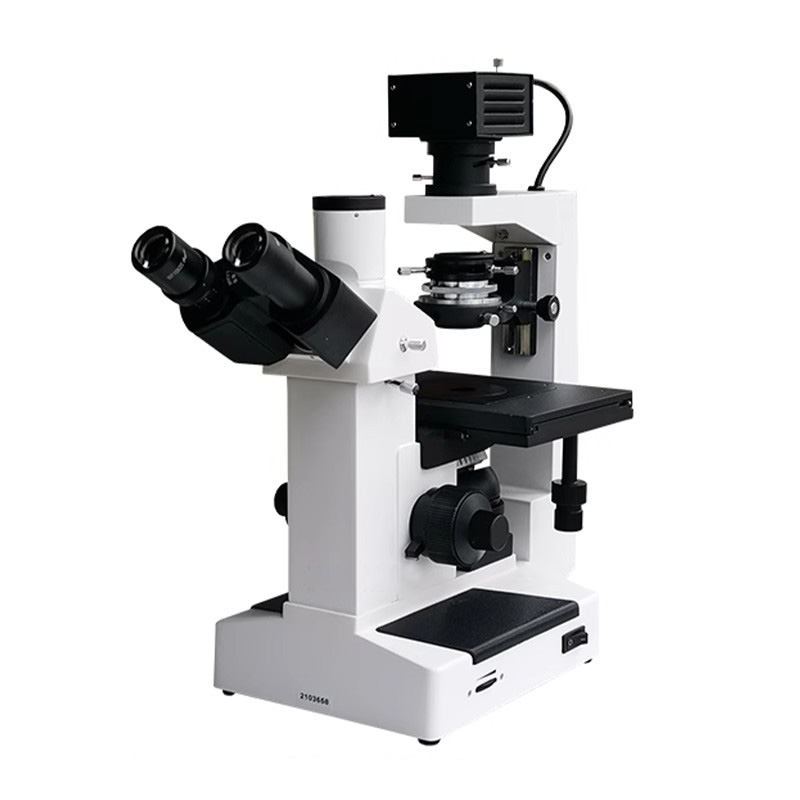
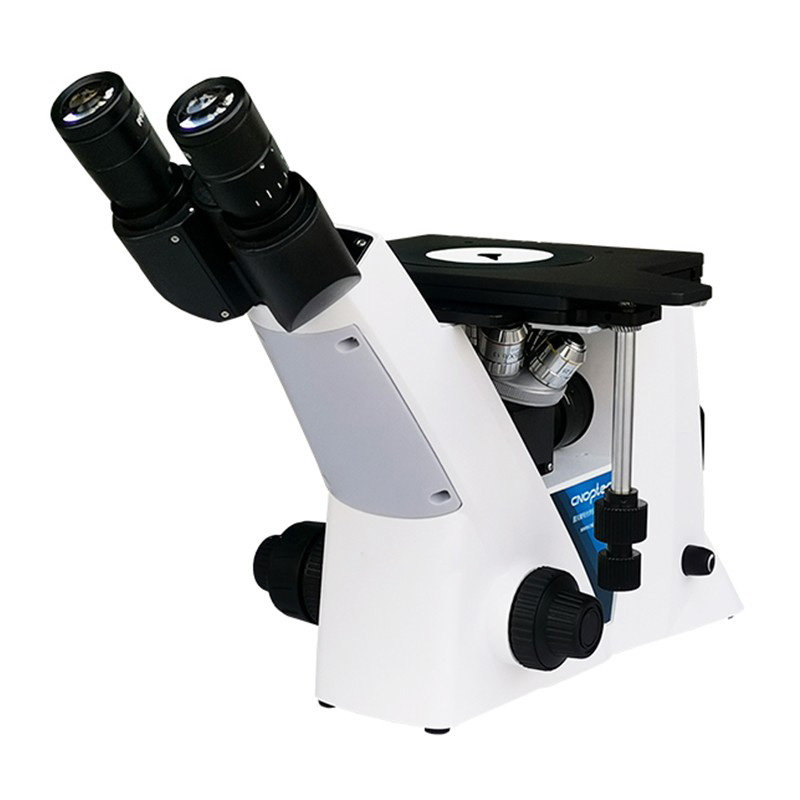
An inverted metallographic microscope is a specialized optical instrument designed for observing the microstructure of metals and other solid materials. Unlike upright microscopes, where the objective lens is positioned above the specimen, the inverted model places the objectives below the stage, allowing for convenient observation of large or heavy samples without the need for cutting or sectioning.
Optical Configuration
The core design of an inverted metallographic microscope includes an objective lens located beneath the specimen and an illumination system above it. The light passes through the top and reflects off the surface of the sample, which is then magnified by the objectives and projected through the eyepiece or camera system. This configuration provides a stable platform for examining polished and etched metal surfaces.
Key Components
1. Illumination System: Provides consistent reflected light for surface observation, often using halogen or LED light sources.
2. Objective Lens: Positioned below the specimen for high-resolution imaging of surface details.
3. Mechanical Stage: Holds large or heavy samples securely for stable focusing.
4. Focusing System: Fine and coarse adjustment knobs enable precise focusing at various magnifications.
5. Optical Path: Directs light from the sample surface through lenses to the eyepiece or digital camera.
Working Principle
The microscope operates on the principle of reflected light illumination. The light source is directed down onto the sample surface, where it reflects back into the objective lens. The reflected light carries information about the surface topography and microstructural features such as grain boundaries, inclusions, and phase distributions. These details are magnified and viewed through the optical system, allowing metallurgists to evaluate material quality and performance.
Advantages of the Inverted Design
Inverted metallographic microscopes are particularly advantageous for examining large, uncut samples such as metal plates, weld joints, and castings. Since the objectives are positioned below the stage, users can analyze the sample surface directly without altering its shape. This not only reduces sample preparation time but also minimizes the risk of damaging valuable specimens.
Applications
These microscopes are widely used in material science laboratories, metallurgical analysis, quality control, and industrial research. Common applications include examining microstructure, measuring grain size, detecting defects, and evaluating heat treatment effects.
The inverted metallographic microscope combines advanced optical design with practical functionality, making it an essential tool in materials research and industrial inspection. Its ability to handle large samples with high precision and clarity ensures reliable and efficient microstructural analysis across multiple applications.
How to Choose the Right Inverted Metallographic Microscope for Your Laboratory
Choosing the right inverted metallographic microscope is essential for ensuring accurate material analysis, reliable testing results, and efficient laboratory operations. An inverted metallographic microscope allows users to observe the microstructure of metals and other solid materials from below the specimen, making it ideal for inspecting large, heavy, or irregular samples. Selecting the proper model depends on several factors such as magnification requirements, illumination type, imaging features, and budget considerations.
Key Considerations for Selection
1. Observation Requirements
The first step in selecting an inverted metallographic microscope is to define your observation needs. Laboratories that primarily perform grain structure analysis, inclusion detection, or weld inspection should opt for models offering high magnification and superior optical resolution. For general inspection or teaching applications, a standard model with mid-level magnification and reflected light illumination may suffice.
2. Optical Performance and Imaging
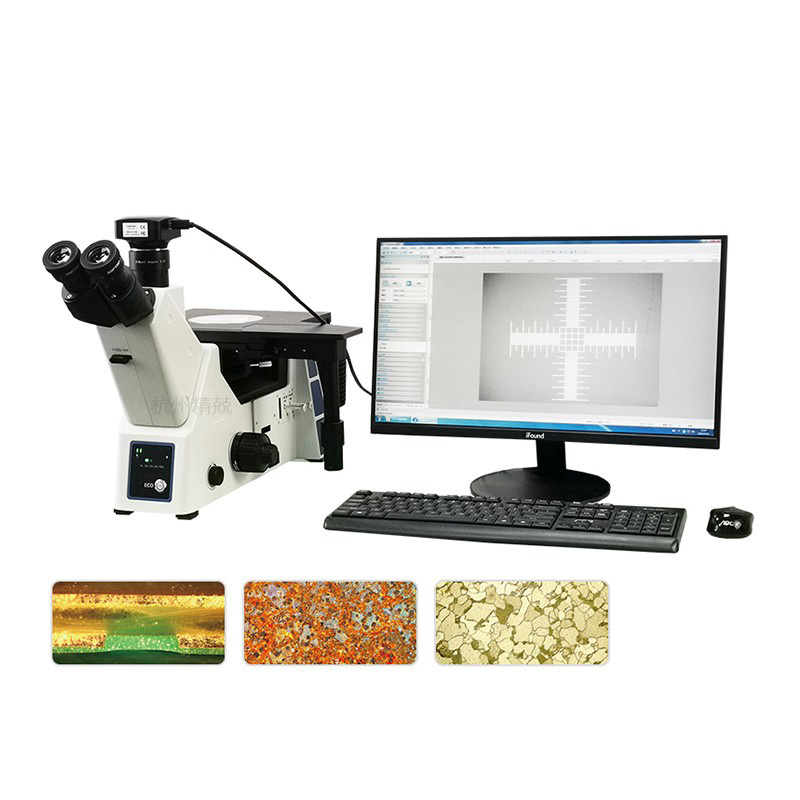
High-quality optics are crucial for obtaining clear and accurate images. When evaluating microscopes, look for features such as plan achromatic or semi-apochromatic objectives, which minimize optical aberrations and ensure precise color reproduction. Advanced models may also include digital imaging systems, enabling image capture, measurement, and data storage for further analysis and reporting.
3. Illumination System
Reflected light illumination is standard for metallographic observation, but the quality and adjustability of the lighting system greatly influence image contrast and clarity. LED or halogen illumination with adjustable intensity and filter options can significantly improve visualization of different surface textures and etched structures.
4. Mechanical Stability and Ergonomics
Inverted metallographic microscopes are often used to observe large or heavy specimens. Therefore, the mechanical stability of the stage and the durability of the focusing system are important. An ergonomically designed body structure also helps reduce operator fatigue during long inspection sessions, enhancing efficiency and comfort.
5. Additional Features and Digital Integration
Modern laboratories increasingly require digital connectivity for data sharing and analysis. Choosing a microscope with integrated camera ports, software compatibility, and measurement tools allows users to capture, annotate, and analyze images efficiently, supporting comprehensive laboratory documentation and quality control processes.
6. After-Sales Support and Maintenance
Reliable technical support and maintenance services are equally important as the equipment itself. Selecting a supplier that offers calibration, repair, and training ensures the microscope’s long-term performance and accuracy. Partnering with an experienced manufacturer provides added assurance of continuous service and spare parts availability.
Reliable Solutions from Hangzhou Jingjing Testing Instrument Co., Ltd.
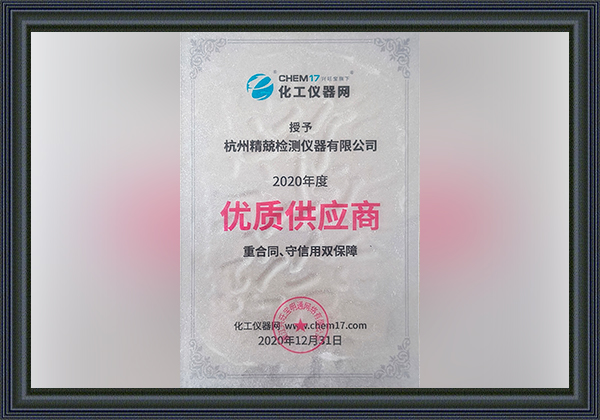
Hangzhou Jingjing Testing Instrument Co., Ltd. is a comprehensive enterprise specializing in the production, R&D, and sales of metallographic microscopes, hardness testers, tensile testing machines, and metallographic sample preparation equipment. The company employs a team of experienced engineers and service professionals who have participated in multiple collaborative projects with well-known instrument manufacturers across China.
With a wide product range and a strong distributor network across major industrial regions, the company provides customers with professional technical consulting, training, and after-sales service. Its metallographic microscopes are designed to deliver stable performance, high optical precision, and excellent cost-effectiveness, making them ideal for laboratories in research institutions, universities, and industrial manufacturing facilities.
Typical Technical Parameters (Example)
| Parameter |
Specification |
| Observation Method |
Brightfield Reflected Illumination |
| Objective Magnification |
5X, 10X, 20X, 50X, 100X (Optional) |
| Eyepiece |
Wide Field 10X (Field Number 22mm) |
| Stage |
Mechanical Stage with X-Y Movement |
| Focus System |
Coaxial Coarse and Fine Adjustment |
| Illumination Source |
LED or Halogen Lamp with Adjustable Intensity |
| Camera Port |
Available for Digital Imaging and Measurement Software |
Choosing the right inverted metallographic microscope requires balancing performance, functionality, and cost. Hangzhou Jingjing Testing Instrument Co., Ltd. offers reliable and high-quality metallographic microscopes supported by a professional service team and comprehensive technical expertise. By selecting a suitable model and trusted supplier, laboratories can achieve accurate and efficient metallographic analysis, ensuring long-term operational excellence and research success.


 English
  Español
  Deutsch
